Bringing still photos to life with AI
You've probably seen it—those AI-animated photos where someone hugs their grandmother who's no longer here, or old family portraits suddenly smile and blink. Maybe you've watched a childhood photo come to life, or seen a still landscape transform into a living scene with drifting clouds and swaying trees.
Image-to-video AI makes this possible, and it's become one of the most accessible ways to start creating with AI video tools. You don't need to describe an entire scene from scratch or master complex software. You already have the photo. You just need to tell the AI how to animate it. The results can be powerful—but if this is your first time bringing a still photo to life with AI, it can be hard to know what to ask for.
In this guide, we'll break down the simple three-part formula to maximize your success, explain which camera movements work best for different photo types, show you common mistakes to avoid and walk through real examples so you know exactly what to expect.
The three-part formula for photo-to-video prompts
To turn your photo into a video, you'll create a prompt with three components:
[Camera Movement] + [Scene Action] + [Atmospheric Details]
This works because it gives the AI clear direction without overwhelming it. You're not writing a screenplay—you're giving focused instructions about movement and mood. And since you're already uploading a reference photo, the AI can see your composition, lighting and subject. Your prompt just tells it what to animate.
Here's what a complete prompt looks like:
"Slow push forward. Woman's hair gently moves in breeze, she blinks and slight smile forms. Golden hour lighting, soft out of focus background."
Let’s break down each of these step by step.
Start with camera movement
We start with camera movement because it sets the foundation for everything else. This controls how the perspective shifts throughout your video. Even if you want your photo's composition to stay exactly the same, you still need to specify "static shot" or "locked camera"—otherwise the AI model might add unintended drift.
If you're not a videographer, don't worry—you don't need to be. Here are the most common movements and what they do:
- Slow push forward: Creates intimacy, draws viewers in
- Gentle pull back: Reveals context, creates breathing room
- Pan left/right: Explores horizontally, shows width
- Tilt up/down: Reveals scale, follows vertical elements
- Orbit clockwise/counterclockwise: Circles subject, shows dimension
- Static locked shot: Camera stays fixed, only subjects move
Add scene action
Now that you've told the AI video model how you want the camera to move, you can tell it what should change. Be specific, but not overly specific—you want to guide the AI without constraining it. If you're stuck, think about what made you want to animate this photo in the first place. Or try one of these options:
- For portraits: Hair movement, clothing shifts, eye blinks, slight expression changes, breathing
- For landscapes: Clouds drifting, water flowing, waves moving, tree branches swaying, fog rolling
- For products: Rotation revealing angles, light moving across surface, steam or smoke effects, reflections shifting
End with atmospheric details
If you have specific environmental elements you want to add, put them at the end of your prompt. These elements enhance motion and make your video feel alive. They can also shift the entire tone—from inspiring to cinematic to unsettling.
Examples:
- Dust motes floating in sunbeam
- Morning fog dissipating
- Golden hour light shifting across face
- Rain beginning to fall
- Lens flare moving across frame
- Steam rising from a surface
Getting better results from your prompts
Now that you understand the three-part formula, here are a few practices that will improve your results immediately.
-
Keep your video length realistic. Most image-to-video AI platforms generate 5-10 second clips. One clear action beats multiple rushed movements crammed into a short timeframe.
-
Choose one primary movement. Pick dramatic camera movement or complex subject action—not both. A prompt like "orbit around subject while they wave and walk forward" asks the AI to juggle too many things at once, and the result usually looks confused.
-
Use positive phrasing. Describe what you want to see, not what you want to avoid. For example, write "smooth, stable camera movement" instead of "no shaking." The AI responds better to direction than negation.
-
Match movement to your composition. Centered portraits work well with push/pull or orbit movements. Landscapes with horizontal elements suit pans. Vertical architectural shots benefit from tilts. Work with what your photo already gives you.
-
Aim for 20-40 words. That's roughly 2-3 sentences—enough to be specific without overloading the AI.
- Too short: "Make the clouds move."
- Too long: "Slowly push forward toward the mountain peak while clouds drift left to right across the sky and the sun breaks through casting dramatic rays of golden light and wildflowers in the foreground sway gently in the wind and birds fly across the sky from left to right and the camera also tilts slightly upward to reveal more of the sky and there's morning mist dissipating around the base of the mountain and shadows are moving across the valley floor and maybe some deer appear in the meadow and the lighting shifts from cool to warm tones as the sun rises higher."
- Just right: "Slow push forward toward mountain peak. Clouds drift right to left across sky. Wildflowers in foreground sway gently, golden afternoon light."
Your first generation shows you what the AI understood. Generate it, watch what moves, then adjust one element. After 3-4 attempts, you'll have exactly what you want.
Common mistakes to avoid
Most failed photo animations come from four predictable errors. Here's what doesn't work and what to do instead.
- Avoid requesting too much motion. Asking for multiple complex actions in one 5-10 second clip creates chaos. "Person walks forward while waving, clouds move overhead, trees sway, birds fly past, and sun breaks through" can result in a muddy generation. Instead, pick one primary action: "Slow push forward. Person walks toward camera. Autumn leaves fall gently around them."
- Don’t use negative phrasing. Writing "no camera shake" or "don't blur the background" often produces exactly that. The AI focuses on "shake" and "blur," not the negation. Instead, describe what you want: "Smooth, stable camera movement" or "Sharp focus on subject, soft blurry background."
- Keep the prompt simple. Paragraph-long prompts with technical specifications and multiple camera moves confuse the AI. More words don't mean better results. Instead, keep it to 20-40 words: "Slow dolly forward through forest. Morning mist parts around ancient trees. Sunlight filters through canopy, golden and soft."
- Beware mismatching motion to photo composition. Adding dramatic camera movement to a photo that needs subtle subject motion, or keeping the camera static when perspective shift would help. Instead, let your photo guide the decision. Intimate portraits need gentle motion. Expansive landscapes can handle dramatic camera moves. Products benefit from revealing rotation.
Prompting strategies by photo type
Different photo types need different animation approaches. The key is matching motion to what your photo already shows you. A portrait mid-laugh should complete that expression. A landscape with dramatic clouds should show them moving. A product on a clean background should rotate to reveal its form.
Here's what works for each category.
How to animate portrait photos
Portraits come alive through human motion—expressions forming, gestures completing, interactions happening. Focus on natural movements that feel true to the moment captured.
- Facial expressions and emotions - Let expressions develop naturally. A slight smile becomes a full grin. Eyes close in laughter. Someone looking away turns to face the camera. "Slow push forward. Woman's smile grows wider, eyes crinkle at corners. She begins to laugh. Golden hour light, soft background." This works because the camera movement draws you into the emotional moment while the expression unfolds.
- Movement and gestures - Running toward camera, reaching out to embrace someone, turning to walk away, hair flip, hands coming up to face. These create story and energy. "Static locked shot. Couple embraces, man lifts woman slightly off ground. Park setting, autumn leaves falling around them." Keeping the camera static lets the embrace be the focus without competing motion.
- Mid-action shots - Photos frozen mid-motion work best when they finish the movement. Someone mid-jump landing, about to blow out birthday candles, throwing leaves in the air, splashing in water. "Gentle pull back. Child jumps into pile of autumn leaves, leaves scatter and fly upward. Backyard setting, afternoon light." The pull-back reveals the full action while the moment completes naturally.
- Group photos - Multiple people interacting creates energy and connection. Friends leaning together and laughing, family members turning to look at each other, group raising glasses in toast. "Slow push forward on dinner table. Four friends raise wine glasses, clink them together, begin laughing. Warm restaurant lighting, bokeh background." The push-forward creates intimacy with the group moment.
- Environmental motion - Hair and clothing moving in wind, rain beginning to fall around the subject, leaves blowing past, sunlight shifting across face. This adds motion around the person while they remain the focal point. "Gentle pull back. Runner mid-stride on forest trail, hair flowing behind. Morning mist parts, sunlight breaks through trees." The pull-back reveals the environment while the runner's motion provides energy.
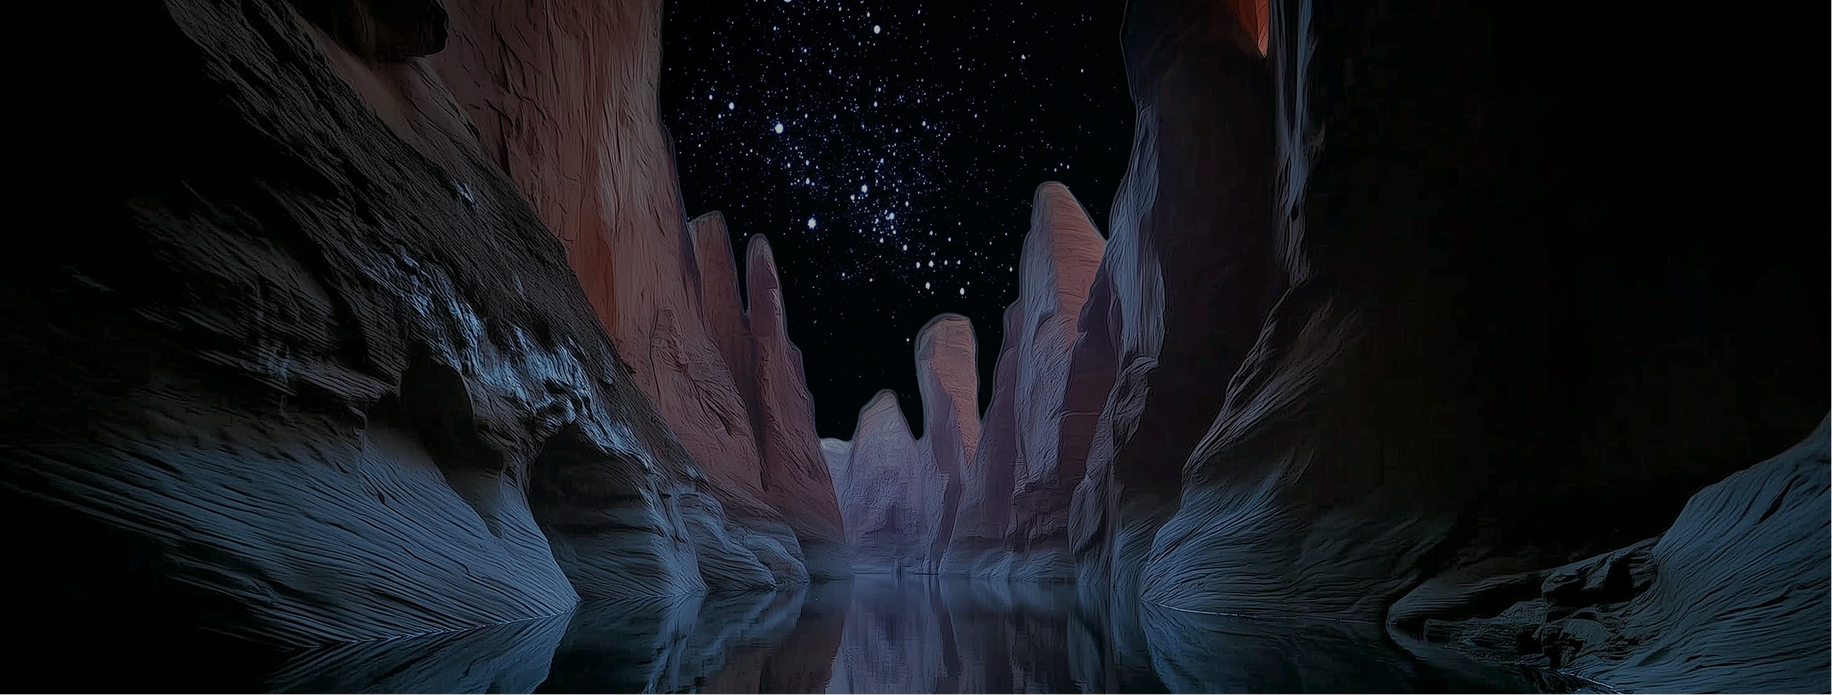
Tips to animate landscape and nature photos
Landscapes need environmental motion to feel alive—things like weather, water or vegetation. These elements create atmosphere and show time passing.
- Day-to-night transitions - Golden hour fading to dusk, streetlights turning on, stars appearing, moonlight strengthening. Time-of-day shifts show dramatic transformation. "Slow tilt up from city street to sky. Sunset fades to blue hour, streetlights flicker on below. Building silhouettes, first stars appearing." The upward tilt follows the natural eye movement from ground to sky during sunset.
- Seasonal effects - Snow beginning to fall, autumn leaves drifting down, cherry blossoms blowing in spring breeze, summer heat waves shimmering. Seasonal motion instantly places your scene in time. "Static locked shot of forest path. Snow begins falling, accumulating on bare branches. Gray winter light, quiet atmosphere." The falling snow creates both motion and mood without camera movement.
- Water movement - Rivers flowing, waterfalls cascading, ocean waves rolling, rain beginning to fall. Water in motion sells realism instantly. "Static locked shot. Waterfall cascades down rock face. Mist rises at base, rainbow appears in spray." Static camera keeps the composition stable while the water provides all the movement you need.
- Cloud and sky motion - Clouds drifting, storm systems rolling in, fog lifting, aurora dancing. Sky movement adds drama and scale. "Slow pan right across mountain range. Storm clouds roll overhead, lightning visible in distance. Dramatic shadows on peaks." The pan mirrors the direction of moving clouds for natural flow.
- Foliage and wind - Trees swaying, grass rippling, flowers bending, leaves falling. Wind effects make landscapes breathe. "Tracking shot through wheat field. Golden stalks wave in strong breeze creating ripple patterns. Sunset light, long shadows." The tracking shot through the field creates immersion while the wind adds texture.
Best practices for animating product photos
Products need motion that reveals form, highlights details or demonstrates scale. The goal is helping viewers understand the object through movement.
-
Rotation and reveal - Orbiting shows dimension and reveals details from multiple angles. Works perfectly for products shot on clean backgrounds. "Slow orbit clockwise around watch. Light catches metal differently at each angle, revealing craftsmanship. Dark background, dramatic lighting." The orbit gives viewers a complete understanding of the product's form.
-
Dynamic lighting shifts - Light moving across a surface reveals texture, material quality and finish. Especially effective for metallic, glossy or textured products. "Static shot. Sunlight sweeps across leather bag revealing grain and stitching detail. Warm tones, natural shadows forming." The moving light does the work of revealing detail without camera movement.
-
Context and scale - Push in for detail, pull back for context. Combine product with environment to show use. "Gentle pull back from coffee maker on counter. Kitchen reveals modern space, morning light through window. Steam rises from fresh brew." The pull-back connects the product to its real-world use.
Interested? Learn more about AI for Advertising →
How to animate architectural and interior photos
Architecture benefits from exploration—walk-throughs that reveal space, lighting that shows time passing and atmosphere that creates mood.
- Walk-through effects - Moving through doorways, down hallways, or into rooms lets viewers explore space. Works best with photos that have clear depth or perspective lines. "Slow dolly forward through doorway into living room. Sunlight streams through windows. Modern furniture, plants visible." The forward movement mimics how you'd naturally enter and explore a space.
- Lighting changes - Time-of-day shifts, shadows moving, sunbeams appearing. Lighting changes show space differently without camera movement. "Static locked shot of cathedral interior. Sunlight shifts through stained glass creating colored patterns on floor. Dust motes visible in beams." The changing light reveals the space's character throughout the day.
- Atmospheric additions - Steam in bathrooms, dust in abandoned buildings, fog in warehouses. Adding atmosphere makes architectural spaces feel inhabited or tells their story. "Gentle push forward into abandoned hotel lobby. Dust particles float in light through broken windows. Decay visible, plants growing inside." The atmosphere conveys the space's history and current state.
Tips for animating food and beverage photos
Food photos need motion that emphasizes freshness, texture, and appetite appeal. Small, focused movements work better than dramatic camera changes.
- Steam and heat - Steam rising from hot dishes, coffee, soup, fresh bread. Heat effects signal freshness and temperature. "Gentle push forward on bowl of ramen. Steam rises from broth, swirls and dissipates. Chopsticks visible, warm restaurant lighting." The forward movement draws viewers into the warmth while steam adds life.
- Pouring and flowing - Wine pouring into glass, syrup drizzling on pancakes, sauce being spooned over a dish, coffee filling cup. Liquid motion creates satisfaction and completion. "Static locked shot. Honey drizzles from wooden dipper onto stack of pancakes. Golden morning light, rustic table setting." The static frame keeps focus on the satisfying pour.
- Ingredients in motion - Salt crystals falling on steak, herbs being sprinkled, chocolate shavings drifting down, powdered sugar dusting dessert. These finishing touches show preparation and care. "Slow tilt down from hand to plate. Powdered sugar falls through sifter onto fresh berries and pastry. Natural light, minimal styling." The downward tilt follows the sugar's path naturally.
- Condensation and texture - Water droplets forming on cold glass, ice melting in drink, frost on beer bottle, oil glistening on food surface. These details emphasize freshness and temperature. "Gentle orbit around iced cocktail glass. Condensation forms on surface, droplets run down sides. Bar setting, moody lighting." The orbit reveals the glass's form while condensation shows it's freshly made.
Start animating your photos
You now have the three-part formula, camera movements that work, and techniques for portraits, landscapes, products, architecture, and food. Here's how to put it into practice.
- Pick a photo with a clear subject. Strong source photos produce strong animations. Choose images where the subject is obvious and the framing is intentional. Blurry snapshots with cluttered backgrounds won't suddenly become cinematic—start with quality.
- Start with the techniques from this guide. You'll have plenty of time to experiment later, but on your first few attempts, use what's proven to work. Match the camera movement to your photo type—centered portraits work well with slow push forward, landscapes with dramatic clouds suit pans. Build confidence with what works before branching out.
- Change one element at a time. Adjust the camera movement, or modify the scene action or refine the atmospheric details. One change per iteration shows you what actually made the difference. Change everything at once and you're guessing.
- Generate 3-5 variations. Your first result shows you what the AI understood. The next few refine it. This is the normal process, not a sign you're doing it wrong. Most people need 3-4 attempts to get exactly what they want.
- Save what works. After 20-30 animations, you'll notice patterns in what produces results for your style. Build your own reference library. The prompts that work for moody portraits might be completely different from what works for bright product shots.
The best animations don't come from complex prompts. They come from understanding what your photo already suggests and describing it clearly in 20-40 words.